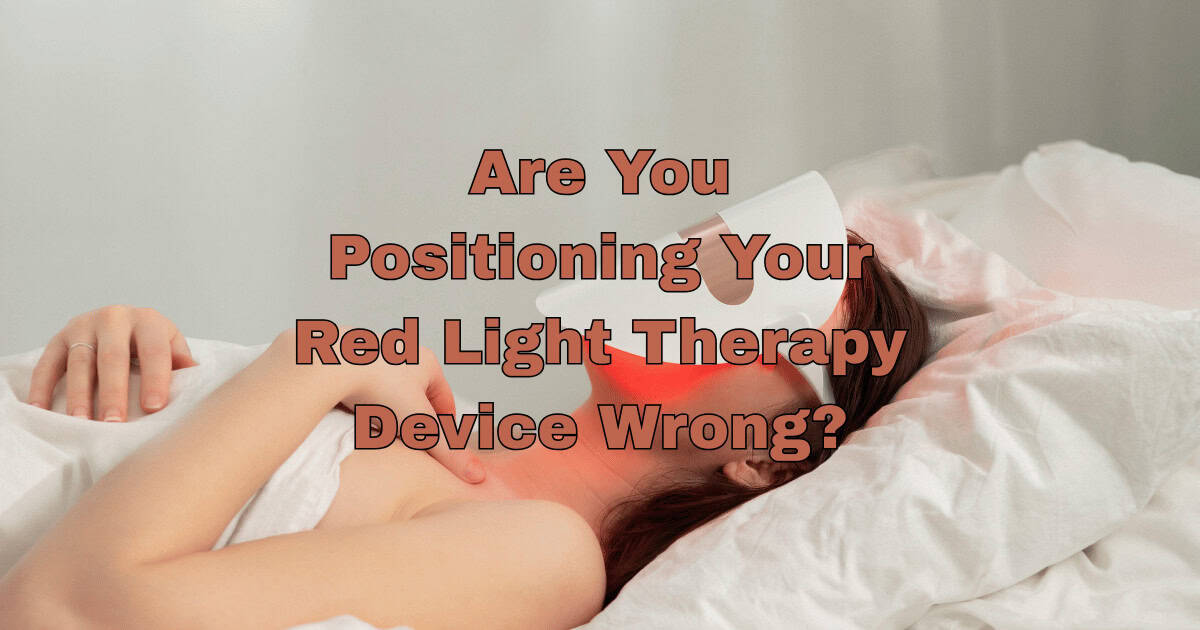
If hair growth progress feels stuck despite consistent sessions, positioning—not the device—often explains the shortfall. Distance drift, poor angles, hair shadowing, and rushed coverage can slash the energy that actually reaches the scalp.
This guide adds a worked dose example, simple distance “fixtures,” and uniformity checks so every minute of red light therapy (RLT) counts. [1][7]
Key Takeaways
- Dose at the scalp drives results: hold distance steady, keep the device perpendicular, and set time from real irradiance—not spec brightness. [1]
- Use multi‑angle coverage and parting/contact to eliminate cold spots on curved, dense, or textured hair areas. [4][2]
- Lock in positioning with a spacer block or tape marks, and recalculate time whenever distance changes; avoid “more time fixes everything.” [1][6]
- Verify uniformity: spot‑check 2–3 scalp points after adjustments and track 4‑weekly photos for 12–24 weeks. [1][7]
- If redness or stinging appears after distance changes, increase distance or shorten time and rebuild gradually. [6]
For the full troubleshooting ladder that unites device checks, dose math, and biology, see Red Light Therapy Not Working? Complete Troubleshooting Guide for Hair Growth.
The core principle: dose at the scalp, not brightness
What matters is the energy delivered where skin sits. Irradiance (mW/cm²) falls as distance and beam spread increase; time must be set from real irradiance at the scalp, not spec‑sheet numbers measured at the lens. Practical dosing sources recommend measuring or using validated distance tables and then back‑solving time. [1][3]
- Simple relation: Fluence (J/cm²) = Irradiance (mW/cm²) × Time (s) ÷ 1000. [1]
- Worked example: To reach 6 J/cm² at a measured 45 mW/cm², time = 6 ÷ 0.045 = 133 seconds ≈ 2:13. If distance changes and measured irradiance drops to 25 mW/cm², new time ≈ 6 ÷ 0.025 = 240 s (4:00). [1][6]
- Distance sensitivity: Small moves backward can dramatically reduce intensity; beam angle and panel geometry determine how fast intensity decays. [2][4]
Mistake 1: Treating too far away
Standing “a bit back” for comfort dilutes intensity and forces long sessions that few sustain, creating hidden under‑dose that looks like nonresponse. [1][2]
How to Fix
- Work close and perpendicular, then set time from the measured/validated intensity at that distance. Many consumer panels require sub‑foot distances for hair targets; caps and combs solve distance by design. [1][5]
- Lock distance: use a 2–5 cm spacer (e.g., foam block) or floor/wall tape marks so the same distance is repeated every day. [1]
Mistake 2: Relying on one static angle
Curved areas (vertex, parietal ridge) develop “cold spots” from a single angle; hair shadowing reduces delivery even when distance is correct. [2][4]
How to Fix
- Use two to three angles per zone. For example, a front‑to‑back pass, then slight lateral rotations around the vertex to blend coverage. [2]
- With caps, add a brief mid‑session micro‑shift (10–15° rotation) to even dose across curves. [2]
Mistake 3: Skipping hair parting and contact
Treating over intact hair allows strands to reflect and scatter light, especially in dense or textured hair. Contact tools (combs/brushes) are designed to reach skin along part lines. [2]
How to Fix
- Part hair into rows 1–2 cm apart over target zones; for comb devices, pass slowly with gentle contact along each part. [2]
- With panels, part and treat from two angles to minimize shadowing; with caps, part before wear when density is high. [2]
Mistake 4: Using the wrong time after moving closer/farther
Changing distance or switching devices without re‑calculating time yields over‑ or under‑dosing. A “same time every day” habit only works if intensity at the scalp stays constant. [1][3]
How to Fix
- Re‑compute time whenever distance changes: Time (s) = Fluence goal (J/cm²) ÷ Irradiance (W/cm²). If heat or skin reactivity appears at higher intensity, increase distance slightly or shorten time. [1][6]
- Keep a one‑page “positions + times” sheet at the station to eliminate guessing. [1]
Mistake 5: Chasing intensity but losing uniformity
Pushing extremely close to panels can create hot spots, heat buildup, and uneven wavelength blending across LEDs—some diodes over‑treat while others under‑treat. [2][6]
How to Fix
- Step back just enough to blend the field and remove heat sensation; extend time modestly to restore dose evenly. [2][6]
- Favor two angles at moderate distance over one extreme close angle; caps smooth intensity but still benefit from a micro‑shift. [2]
Mistake 6: Rushing coverage on large areas
Treating only the hairline or a “selfie angle” leaves half the scalp under‑served. Hair trials evaluate outcomes over 12–24 weeks with defined regimens; rushing coverage undermines those timelines. [7][8]
How to Fix
- Segment the scalp (frontal, mid‑scalp, vertex, lateral fringes) and allocate time or passes per segment. [7]
- If total time becomes impractical, consider a targeted upgrade to improve coverage rather than cutting corners. [2]
Mistake 7: Ignoring beam angle and device class
Beam optics change how quickly intensity falls with distance and how much area gets adequate dose. Narrow beams hold intensity farther but cover less area; wide beams spread quickly and need closer placement. [4][9]
How to Fix
- Learn your device’s beam pattern (vendor tables or third‑party reviews) and set both distance and angles accordingly. [4][9]
- Panels: distance discipline and multi‑angle coverage; caps: fit/snugness plus micro‑shift; combs: slow, contact passes along parts. [2]
Mistake 8: Positioning through buildup, sweat, or wet hair
Oil film, products, and moisture increase scattering and can provoke irritation at higher intensities. Trials report sebum decreases over time with consistent protocols, but immediate pre‑session buildup still blocks light. [10]
How to Fix
- Treat on clean, dry skin. On non‑wash days, use a residue‑removing wipe; avoid heavy occlusives pre‑session. Part rows before placement. [10]
Verify uniformity and progress
- Spot‑check intensity (or at least comfort/heat sensation) at 2–3 scalp points after any distance/angle change; aim for similar feel across zones. [1]
- Standardize photos every 4 weeks (same light, angle, distance, hair state) for 12–24 weeks; if a stall persists, work the plateau logic here: Why Has My Red Light Therapy Stopped Working for Hair Growth?. [7]
Safety and pacing
More minutes aren’t always better (biphasic response). If redness or stinging appears after distance changes, back off time or increase distance and rebuild gradually. For dose‑related warning signs and how to reset, see: Overdoing Red Light Therapy: Signs You’re Using It Too Much. [6]
A 10‑minute positioning checklist (save this)
- Clean, dry scalp; rows parted over target zones.
- Distance fixed (spacer or tape marks); device perpendicular to skin.
- Two to three angles for curved zones; micro‑shift for caps.
- Slow contact passes for combs; blended field for panels (no hot spots).
- Time matched to actual distance/irradiance; note heat/skin reactivity.
- Photos every 4 weeks with the same setup to judge coverage‑driven changes. [1][7]
Bottom line
Technique turns the device you already own into the device you thought you bought. Hold distance steady, work perpendicular with parted hair, blend angles over curves, and set time from real intensity at the scalp. With disciplined positioning—and consistent weekly execution—most “device problems” become delivery problems you can fix. [1][7]
FAQ
How do I know the right fluence target for hair growth?
Most hair-focused protocols aim for a modest fluence like 4–8 J/cm² per treatment zone, built consistently over weeks; err on the lower end if sensitive and increase slowly while monitoring skin response and photographic progress every 4 weeks . Use the relation $$ \text{Fluence (J/cm²)} = \text{Irradiance (mW/cm²)} \times \text{Time (s)} \div 1000 $$ and set time from measured or validated irradiance at the scalp rather than spec-sheet brightness at the lens.
What’s an easy way to measure or estimate irradiance without a meter?
Check if the brand publishes third‑party or independent distance–irradiance tables and adopt a stable distance using a spacer, then back‑solve time from those values; choose conservative assumptions if tables vary . Community and vendor resources often provide typical ranges by distance for panels, caps, and combs, which are sufficient to set starting times before fine‑tuning.
How can I prevent hot spots while still keeping sessions efficient?
Blend the field by stepping back slightly from extreme close contact until heat sensation is minimal and beam overlap is uniform, then extend time modestly to restore dose evenly across the zone . Using two moderate angles rather than a single ultra‑close pass reduces over‑treated patches and improves wavelength mixing on multi‑LED arrays .
What should change if hair is dense, curly, or textured?
Prioritize direct skin access by parting in 1–2 cm rows and using slow, light contact passes with comb devices, or part before placing caps and during panel work at two angles to cut shadowing . Expect to allocate a bit more total time per zone since curved surfaces and dense strands create cold spots that need multi‑angle blending to equalize dose .
How do beam angle and optics affect my setup?
Narrower beam optics hold intensity farther away but cover less area, while wider beams spread quickly and require closer placement or more angles to achieve uniform fluence across curved scalp regions . Review the device’s stated beam angle or third‑party tests to choose a repeatable distance and angle plan aligned with its optical pattern .
What are signs I’m overdosing and how do I reset?
Early warning signs include stinging, persistent redness, or unusual warmth during or after sessions, which call for increasing distance or shortening time and rebuilding gradually over subsequent treatments . Adopt a two‑step reset: first reduce intensity exposure (distance/time), then re‑introduce angles and coverage once comfort normalizes while maintaining photo checkpoints every 4 weeks .
How can I keep distance and angles consistent day to day?
Use a 2–5 cm spacer block or marked floor/wall positions to repeat the same distance, and note angle sequences (e.g., front‑to‑back, slight right, slight left) on a one‑page station card. Recalculate time whenever the distance changes—including after rearranging furniture or switching devices—to keep fluence at the scalp constant.
What’s a practical weekly cadence and timeline to expect changes?
Most trials and reviews observe evaluation windows of 12–24 weeks, so commit to a stable routine and standardized photos every 4 weeks before judging progress or making large changes . If plateauing after a consistent block, adjust dose delivery by improving uniformity first (distance discipline, parting, angles) before chasing higher intensity or buying new hardware .
How should routines differ between panels, caps, and combs?
Panels benefit from disciplined distance plus two to three angles to smooth coverage on curves, while caps rely on good fit with a brief micro‑shift mid‑session to even dose; combs need slow, gentle contact along parted rows . Match session time to the device’s validated irradiance at the scalp rather than using a one‑size schedule across categories.
What if I can’t cover the entire scalp within my available time?
Segment the scalp into zones and rotate focus days or add one extra angle per session rather than rushing passes; uniformity in treated areas beats thin coverage everywhere . If the schedule remains impractical, consider a targeted device upgrade for better area coverage or ergonomics instead of cutting time below fluence targets
References
1) Red Light Man. Complete guide to light therapy dosing (accessed 2025). https://redlightman.com/blog/complete-guide-light-therapy-dosing/
2) Light Therapy Insiders. Red Light Therapy Dosing Chart (2025). https://www.lighttherapyinsiders.com/red-light-therapy-dosing-chart/
3) Bestqool. Red Light Therapy Irradiance: Dosage Guide For Best Results (2024). https://www.bestqool.com/blogs/news/red-light-therapy-irradiance
4) GembaRed. Inverse Square Law & Beam Angle Conundrums (2024). https://gembared.com/blogs/musings/beam-angle-and-inverse-square-conundrums
5) Lumebox. What Is the Best Distance for Red Light Therapy? (2025). https://thelumebox.com/blogs/lumebox-blog/best-distance-for-red-light-therapy
6) Mito Red Light. Irradiance and Joules and Dosing, Oh My! (2025). https://mitoredlight.com/blogs/mito-red-blog/irradiance-and-joules-and-dosing-oh-my
7) JCAD. A Systematic Review and Meta‑analysis of Randomized Controlled Trials of LLLT for hair loss (2024). https://jcadonline.com/laser-therapy-hair-loss/
8) Photobiomodulation for the Management of Alopecia (2019). https://pmc.ncbi.nlm.nih.gov/articles/PMC6737896/
9) RLT Home. Beam Angle and Its Impact on Red Light Therapy Results (2021). https://redlighttherapyhome.com/blogs/news/beam-angle
10) Assessment of Effects of Low‑Level Light Therapy on Scalp (2022). https://pmc.ncbi.nlm.nih.gov/articles/PMC10564188/